Powered by Quotezone
Insurance comparison information
Prudent Plus Limited is an Introducer Appointed Representative of Seopa Ltd, Floor 4, Blackstaff Studios, 8-10 Amelia Street, Belfast, BT2 7GS. Seopa Ltd is authorised and regulated by the Financial Conduct Authority, FRN 313860. Quotezone is a trading style of Seopa Ltd and provides the insurance comparison service.
Prudent Plus Limited may receive a commission if a policy is purchased following an introduction, at no additional cost to you. We do not provide personal insurance advice.
Pressure testing is one of those jobs that separates tidy, professional plumbing from guesswork. Whether you’re commissioning a new system or checking a repair, testing correctly prevents leaks, protects finishes, and gives peace of mind before closing up walls or floors. Done right, it’s quick, clean, and definitive. Done poorly, it’s the start of expensive callbacks.
Why Testing Matters
Pipework is often hidden once a job’s complete, so the testing stage is your last chance to confirm that every joint is sound. Even a slow drip can cause serious damage once sealed behind plaster or tiles. A proper test checks both the integrity of fittings and the strength of the materials themselves under working pressure. It’s also a key compliance requirement for most installations under Building Regulations and water industry standards.
Preparation Before Testing
Before connecting gauges or pumps, make sure the system is ready. That means:
- All visible joints are complete and accessible.
- End caps or blanks are securely fitted where needed.
- Valves are open unless they’re being isolated for a specific section test.
- Air vents are closed, and the system is free of debris and flux residues.
Label test points clearly so anyone on site knows the system is under pressure. Never pressure-test with others working on the same line; it’s easy for someone to open a valve by mistake.
Testing Water Systems
For hot and cold pipework, use a calibrated water test pump and gauge. Start by filling the system slowly, bleeding air as you go. Once full, connect the test pump and raise the pressure to one and a half times the system’s working pressure, typically around 10 bar for domestic copper or plastic installations. Hold it steady for ten minutes, watching the gauge closely.
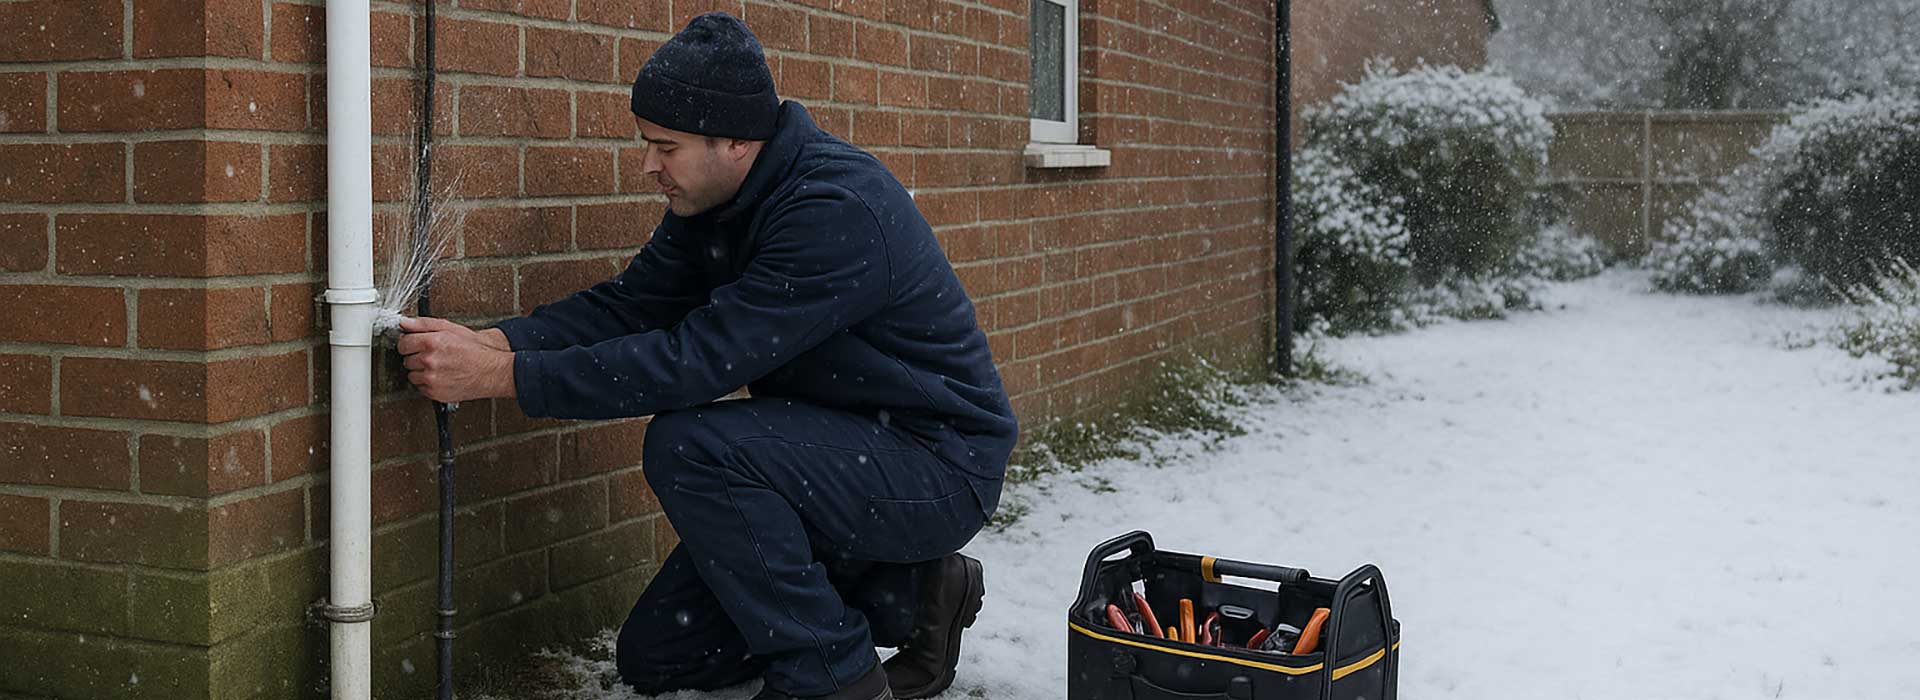
If the pressure drops noticeably, inspect for visible leaks, drips, or sweating joints. A stable reading indicates the system is tight. Some minor initial drop is normal as pipes settle, but any continuing loss means a leak somewhere. Dry all joints with tissue to pinpoint the fault.
After confirming the result, release pressure gradually; never by disconnecting a live fitting; and drain safely.
Testing Heating and Sealed Systems
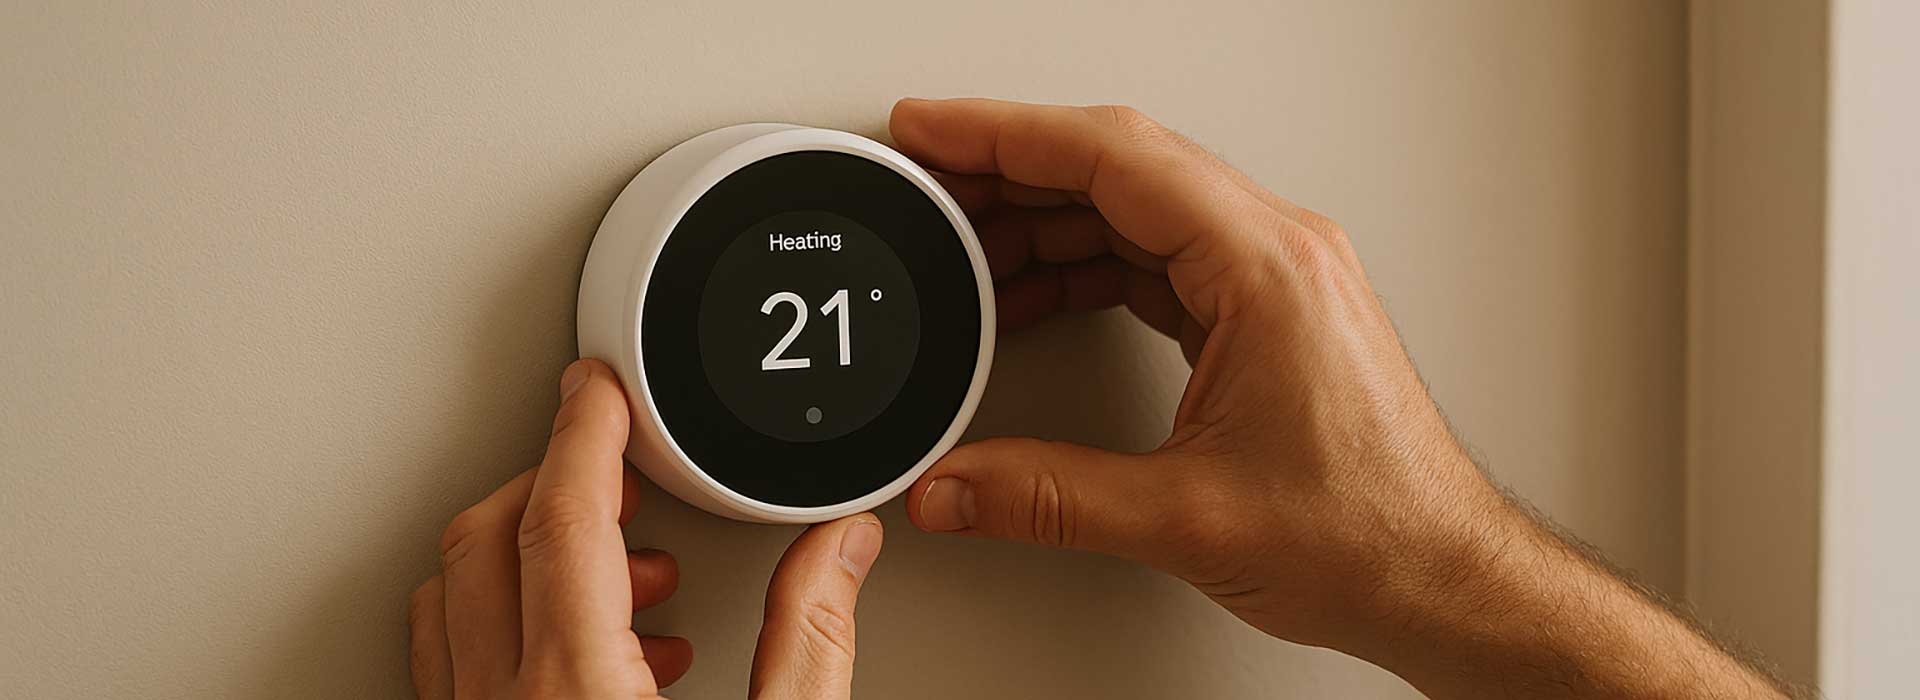
For central heating or sealed systems, the process is similar but may include testing the expansion vessel and pressure relief valve. Check manufacturer recommendations, as some boiler warranties require a specific test procedure. Always use clean water and avoid introducing contaminants that could corrode or damage components later.
On older systems with mixed metals, it’s often wise to flush and treat before testing to prevent debris from blocking small-bore valves or pump impellers.
Testing Gas Pipework
Gas testing must be done strictly to Gas Safe standards using an approved manometer and test nipple. The test pressures and timings depend on pipe size and system volume, so follow the relevant sections of BS 6891 or IGEM/UP/1B. Never use water or compressed air for gas pipe testing; only approved pressure testing with air or nitrogen at controlled low pressures.
Document readings clearly and retain records. For new installations or substantial alterations, a tightness certificate is mandatory.
Common Mistakes to Avoid
- Testing with air when the specification calls for water; air compresses and can cause violent release if a joint fails.
- Skipping temperature stabilisation; pressure readings fluctuate with heat or sunlight on the pipework.
- Using inaccurate gauges; always calibrate or verify before use.
- Leaving systems under pressure overnight without supervision.
Accuracy and patience matter more than speed. A rushed test often hides slow leaks that only appear after completion.
Recording and Sign-Off
Most commercial and domestic projects now expect written test results. Record system type, pressure applied, duration, and final reading. Take a dated photo of the gauge as backup. It’s a small habit that proves your work was verified and protects you if a dispute arises later.
Summary
A proper pressure test is a professional safeguard; one that prevents hidden leaks, protects customers, and proves your workmanship. Use the correct equipment, follow the right sequence, and document the result. It only takes a short time, but it saves you hours of rework, protects your reputation, and ensures every system you sign off is as solid as it looks.