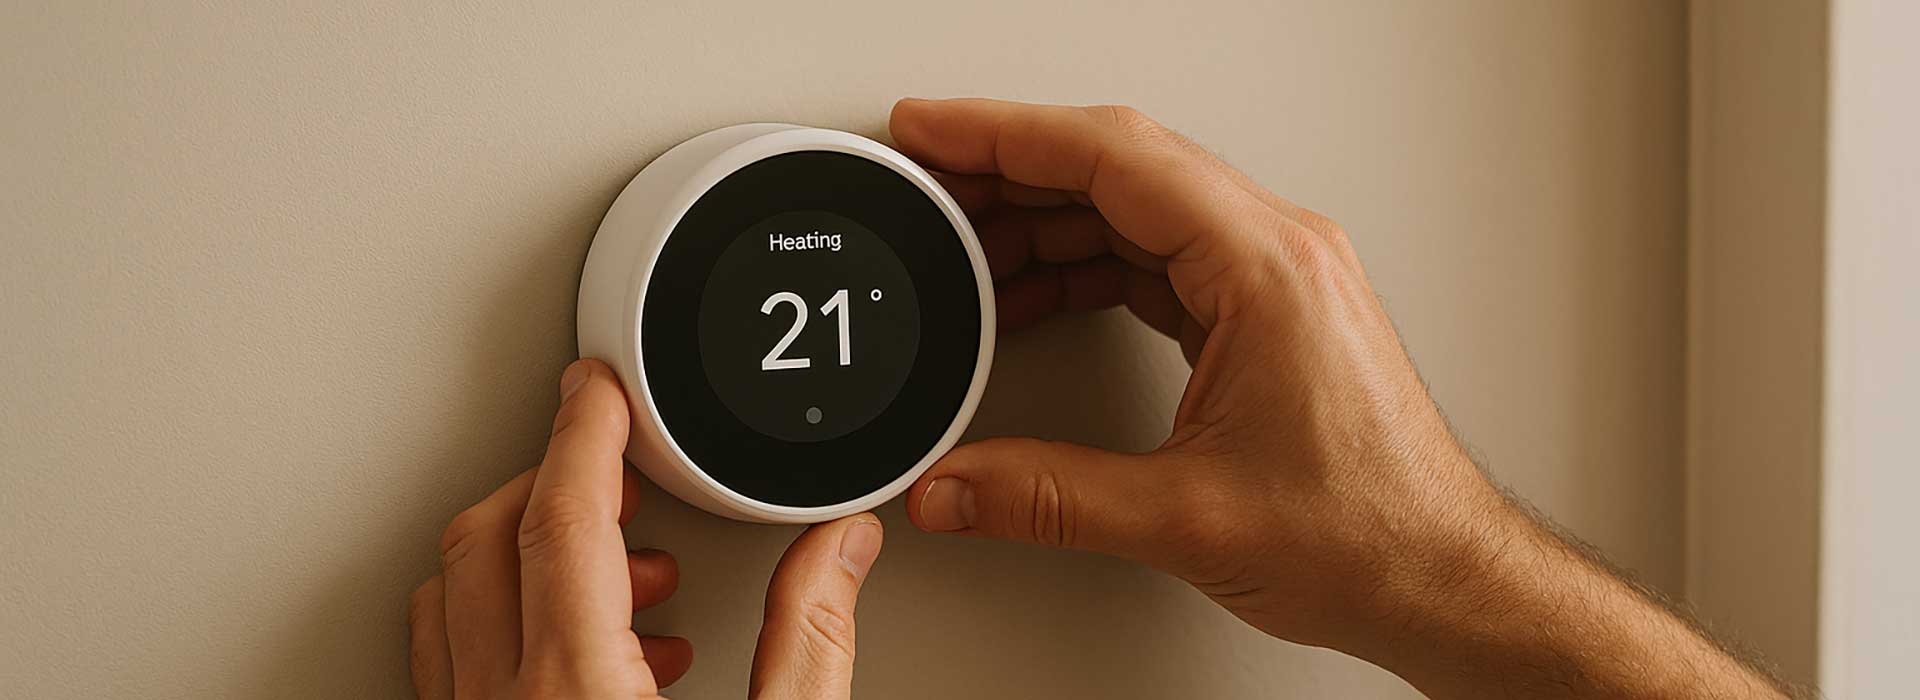
Thermostatic radiator valves; or TRVs as most of us call them; are one of those small fittings that make a big difference. Installed properly, they help customers save energy, balance room temperatures, and extend the life of a heating system. Installed badly, they can stick, leak, or cause uneven heat across the house. Getting them right isn’t complicated, but it does mean paying attention to the details.
Start with the Basics: What a TRV Actually Does
A TRV automatically adjusts the flow of hot water into a radiator depending on the room temperature. As the air warms up, the valve gradually closes to maintain the set comfort level. It’s a simple idea that saves fuel and gives the user a bit of control in each room. But for the sensor to work properly, the valve needs to be positioned and fitted with care.
Most modern TRVs are bi-directional, meaning they’ll work on either flow or return. That said, always check the manufacturer’s marking. Fitting a one-way valve the wrong way round is a common mistake that can lead to hammering noises or poor heat output.
Preparation Before Fitting
Like most plumbing jobs, preparation saves time later. Start by checking the system is cool and depressurised. Lay down dust sheets if you’re working in finished rooms; the customer always notices when you do. Have the following to hand:
- Adjustable spanners or grips (with soft jaws if possible).
- PTFE tape or appropriate jointing compound.
- Replacement olives or fittings if reusing existing tails.
- A drain-off hose or towel for any residual water.
If you’re upgrading older valves, take a moment to flush debris from the radiator tail before fitting the new TRV. Sediment build-up there can shorten the valve’s life and cause sticking later on.
Positioning and Orientation
The head of the TRV should always sense room air, not radiant heat or draughts. For that reason, it’s best placed on the flow side of the radiator in a free-air position. Avoid fitting the sensing head behind curtains, inside covers, or too close to a heat source such as a pipe chase. Doing so confuses the sensor and leads to cold rooms or constant cycling.
If the radiator is enclosed or the valve has to be fitted horizontally, choose a remote-sensor TRV instead. These come with a small capillary tube and wall-mounted sensor, giving accurate readings even when the valve itself is tucked away.
Fitting the Valve
Once the system’s drained to a safe level, remove the old valve and clean the threads. Wrap PTFE tape neatly around the male thread; five or six turns is plenty. Screw on the new TRV body, taking care not to overtighten. Over-compression damages the olive and risks leaks later.
Check the alignment so the valve head sits comfortably once installed. Tighten both nuts, then refill and vent the system slowly. Watch for any signs of weeping around the joint. Once pressure is stable, attach the valve head and set it to maximum to allow circulation while bleeding the system.
System Balancing and Flow Direction
After fitting new TRVs, the system will usually need balancing. That ensures even heat across all radiators, especially on multi-storey properties. Use the lockshield valves to fine-tune flow; opening those nearest the boiler slightly less than those further away. A properly balanced system saves fuel and prevents noisy radiators.
If you’re working on an older one-pipe system, take extra care. TRVs can restrict flow too much, so fit bypasses or leave at least one radiator without a TRV, usually in a hallway or bathroom, to keep circulation steady.
Common Mistakes to Avoid
- Fitting the wrong way round: Some valves are still single-direction; always check the arrow on the body.
- Mounting behind curtains: TRVs sense air temperature, not water temperature; blocked airflow throws readings off.
- Ignoring balancing: A new TRV can throw the whole system out if others aren’t adjusted.
- Mixing valve brands and heads: Not all TRV heads fit every body. Always match the manufacturer’s set.
- Skipping the pressure test: A quick check after refill saves a call-back later.
Small errors here cause big headaches later; and can make a neat job look sloppy. Customers remember whether their new TRVs work smoothly or hiss all night.
Aftercare and Customer Advice
Before leaving, always show the customer how to use the valves. Explain that setting “5” won’t heat the room faster; it just lets it get hotter. Encourage them to leave the TRV open in unused rooms to prevent seizing, and to twist them fully open and closed a couple of times before heating season starts. That habit keeps the internal pin moving freely.
Good communication saves call-backs. When customers understand their system, they’re more likely to notice genuine faults and less likely to panic over normal valve operation.
Attention to Detail Pays Off
Fitting thermostatic radiator valves correctly is a small job that shows real professionalism. It’s about precision, patience, and pride; things every good plumber builds their reputation on. A clean, leak-free finish and an even temperature throughout the home speak louder than any advert ever could.
Take the time, fit them right, and those TRVs will quietly save your customers money year after year; with your name remembered as the plumber who knew what they were doing.